
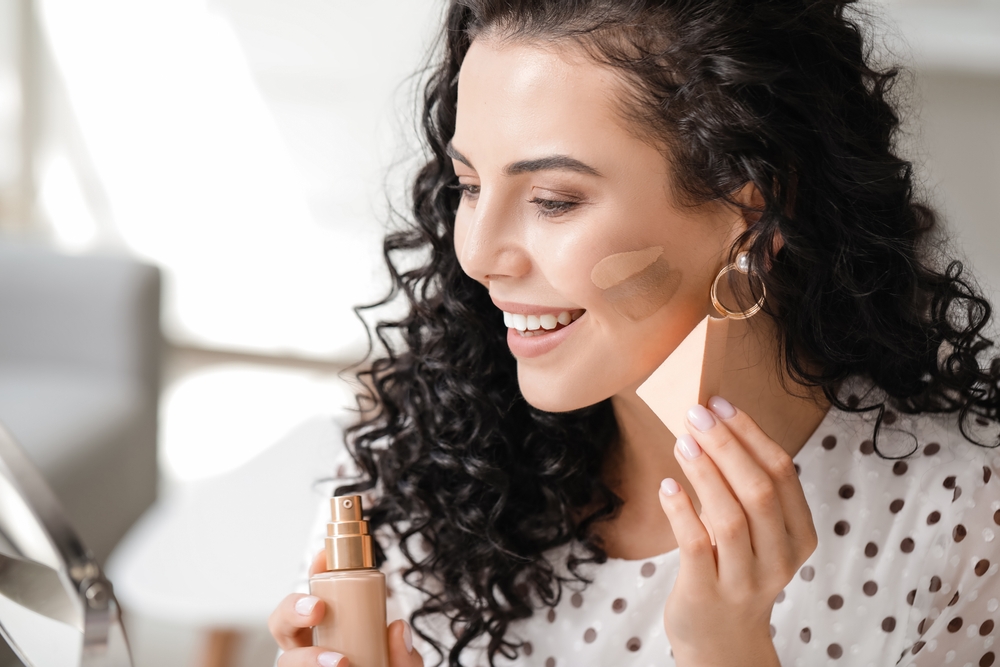
You laugh at a coworker’s joke, glance in your phone camera five minutes later, and there it is: two little canyons of foundation sitting exactly where your smile lines are. Rude. You didn’t even laugh that hard.
Here’s the truth nobody puts on the product label: makeup settles into smile lines because of where and how you’re applying it, not because your face is somehow defective. Once you know the mechanics, this is a completely fixable, five-minutes-or-less problem. Let’s get into it.
Why Makeup Settles Into Smile Lines in the First Place
Before the fixes, a quick reality check. Smile lines (aka nasolabial folds, aka “the lines that show up the second you’re a human being with facial expressions”) are just creases that move constantly. Every time you talk, chew, smile, or dramatically react to a group chat, that fold flexes.
Product sits in the low point of the crease, dries there, and gets more visible every time your face moves. Combine that with dry patches, too much powder, or a foundation that’s fighting your skin type, and yep — makeup settles into smile lines like it’s paying rent there.
The fix isn’t “wear less makeup.” It’s applying smarter. Here’s how.
1. Start With Skin That’s Actually Hydrated
This is the single biggest reason makeup settles into smile lines, so it goes first. Dry or dehydrated skin has nowhere for product to “sit” evenly — it grabs onto texture and creases instead of gliding.
- Moisturize at least 5–10 minutes before you start
- Let it fully absorb (tacky skin = foundation grip city)
- Consider a hydrating serum specifically along the nose-to-mouth area
If you’re building your whole face from scratch, this is exactly the kind of foundational step covered in a simple step-by-step makeup routine that actually works — skin prep is where good makeup days are won or lost.
2. Skip Heavy Primer in the Crease Zone
Primer is great. Too much primer directly in your smile lines is basically laying down double-sided tape for pigment to cling to. Apply a thin, even layer everywhere else, and go featherlight (or skip it entirely) right along the fold itself.
3. Use a Damp Sponge, Not a Dry Brush
Dry brushes push product into fine lines and texture. A damp makeup sponge, on the other hand, presses and blends foundation onto the skin instead of dragging it around. Bounce, don’t swipe — especially near the mouth, where your face moves the most.
4. Go Thin Around Your Smile Lines

Full coverage everywhere sounds appealing, but the areas of your face that move constantly (mouth, smile lines, under-eyes) are exactly where thick product fails fastest. Build coverage in the center of your face and let it thin out naturally as you blend outward — this is a big part of why makeup settles into smile lines in some routines and not others.
5. Set Your Makeup With a Light Hand (and the Right Tool)
Powder is not the enemy — over-application is. Use a fluffy brush, tap off the excess before it touches your face, and press (don’t rub) a thin layer only where you actually need mattifying. Smile lines rarely need heavy powder; they need almost none.
6. Try the “Smile While You Blend” Trick
This one sounds silly and works shockingly well: smile while you’re applying and setting your base. It stretches the fold flat, so you’re not pressing product into a crease — you’re applying it to smooth, taut skin. Let your face relax after, and the product settles evenly instead of pooling.
7. Choose Formulas Built for Your Skin, Not Against It
If your foundation formula is fundamentally mismatched to your skin type, no amount of technique fully saves it. Oil-based formulas on already-oily skin, or heavy matte formulas on dry skin, tend to grab onto texture and slide into folds by midday. If your base has been letting you down in general — not just around the mouth — it’s worth troubleshooting the whole routine the way this breakdown of common foundation mistakes and how to fix them walks through, since flaky texture and crease-settling often share the same root causes.
8. Blot Before You Panic-Reapply
Midday touch-up instinct is to add more product to the crease. Don’t. Blot first with a tissue or blotting paper to lift oil and shine, then apply the tiniest amount of fresh product with a damp sponge. Reapplying onto oily, un-blotted skin is basically how makeup settles into smile lines for round two.
9. Consider Going Lighter on Coverage Overall
Sometimes the real fix is a mindset shift, not a technique. A sheer-to-medium base that lets some skin texture show through is genuinely more forgiving on expressive areas of the face than a full-glam matte finish. If you love that lit-from-within, barely-there vibe, the approach used in an effortless no-makeup makeup look is basically smile-line insurance — less product, less to crease, less to fix by 3 p.m.
A Quick Word on Glow
Dewy finishes get a bad reputation for creasing, but that’s usually a placement issue, not a glow issue. Strategic, well-blended luminizer on the high points of your face (cheekbones, brow bone, bridge of the nose) won’t touch your smile lines at all. If you want the glow without the grease-trap effect, these dewy, glowing skin hacks are a good place to start.
The Bottom Line on Makeup & Smile Lines
Makeup settles into smile lines when hydration, product weight, and application technique are working against your face’s natural movement instead of with it. Fix the prep, lighten the touch in high-movement zones, and set with intention — and that crease that used to show up on every video call will finally mind its own business.
Your smile lines are just doing their job: reminding the world you laugh a lot. Your makeup should be doing its job too — staying put while you do.







Leave A Comment