The quest for flawless skin has led to rise of a market saturated with skin care products that promise to do wonders. Some of these products however achieve the desired results by infusing harmful chemicals into their formulations. Ingredients like steroids, hydroquinone, and mercury found in beauty products have been proven to be counterproductive in the long run.
Does this mean that you are doomed to have a blemished skin? Not quite! Natural, organic and safe ingredients provide a way out.
Among these are essential oils, which are extracted from plants. They come with a wide range of health benefits. Careful blending of these herbal oils can achieve the right potency for maximum benefits to your skin. The resulting blend is a therapeutic-grade product that will revitalise, remove blemishes and generally shed off a few years from your skin.
Are you interested in knowing more? If yes, here is how to mix your own essential oil blend for a beautiful, clear skin.
Step 1. Identifying the Best Oils for Your Skin
Before getting down to making your very own blend of essential oils, first identify the most efficacious and safe-to-use oils. To make sure that you are going for the right ingredients, only use oils that are backed by scientific research.
This will save you the trouble of a trial and error approach- which could leave you with the wrong blend for your specific skin type. With that in mind here are the top essential oils for a better skin:
1. Rosemary Oil
Rosemary is an essential oil great for the repair of damaged skin. It treats acne breakouts and contains compounds that remove excess oil from the skin. It’s also effective in getting rid of bacteria, unclogging pores, and reducing redness and inflammation. Simply put, having rosemary oil as part of your blend will reduce the appearance of scars and keep your skin infection-free.
Rosemary oil contains three bioactive compounds; rosmarinic acid, carnosic acid and carsinol. These compounds have been found to be effective against Propionibacterium acnes, which is the pathogen associated with breakout and progression of acne. Apart from the antibacterial properties, the oil also helps in reducing hair loss.
2. Lavender Oil
Lavender is usually associated with a sweet scent that gets you all relaxed whether in a spa or at home. The scent from the oil is a great stress reliever, which comes in handy in reducing aggravation of stress-related acne. It’s also efficacious in reducing inflammation and killing bacteria. Having the oil as part of your blend will also sooth, calm and moisturize your skin.
A study established that the oil has a one of the strongest antibacterial property against acne. It’s also fast acting and is proven to get rid of acne-causing bacteria from the skin in about 5 minutes.
3. Hazelnut Oil
Free radicals are known to damage the skin by increasing cellular degradation. An effective way of combating this damage is by using essential oils rich in vitamin E. Hazelnut oil fits in this category and it’s also a natural sunscreen with an approximate SPF 15. As part of your blend, it will also serve in hydrating and healing minor cuts on your skin.
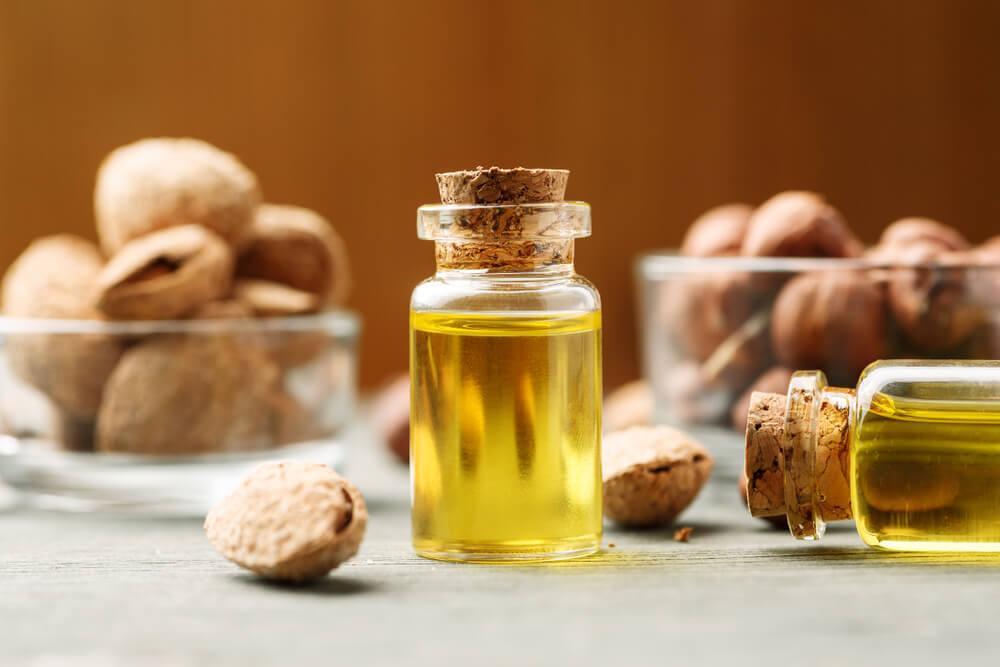
Studies have shown that the oil contains tannins, which are bioactive compounds with antioxidant properties. The vitamin E in the oil will also increased firmness, reduce appearance of fine lines, and improve the skin structure in general. This it does by inhibiting collagenase, the enzyme responsible for collagen destruction.
4. Tea Tree Oil
Tea tree oil is one of the most efficacious essential oils borrowed from nature; it has antifungal, antiviral and antibacterial properties. This makes it excellent in treating different skin conditions including acne, itchiness, and dryness. It also helps in unblocking pores and reducing inflammation. The antibacterial property is excellent in getting rid of blackheads, whiteheads, as well as pimples.
A study exploring the medicinal properties of the oil found that it contains terpinen-4-ol, a compound responsible for ridding different bacteria from the skin. The study also found the oil to be effective in reducing the number and appearance pimples during acne treatment.
5. Sandalwood Oil
Sandalwood oil has many health benefits which are attributed to properties such as anti-inflammatory, astringent, antiseptic and disinfectant. As an active agent in a essential oil blend, it protects wounds, pimples, and boils from becoming infected and septic. It’s also perfect in keeping your skin hydrated by reducing moisture loss.
The Indian sandalwood is considered the best source of santalenes, santyl acetate, and beta santalol. These are the constituents responsible for reduction of pimples, hastened healing of scars and spots, relieving inflammations and irritations. Clinical trials have also proven that it’s effective against acne, eczema, psoriasis, common and severe warts.
6. Eucalyptus Oil
This is another organic extract that will do wonders for your skin. The oil contains methanol-dichloromethane an anti acne agent. It also has microbial properties that help to keep your skin infection-free. Eucalyptus oil is also readily absorbed by the skin whereby it removes sebum. This makes it perfect for someone with an oily skin.
Eucalyptol and alpha-terpineol are other beneficial constituents of the oil. They provide a soothing and cooling effect on the skin, which is a welcome feeling especially on inflamed skin. When applied on wounds it reduces infection hence reducing the chances of new breakouts.
7. Lemon Oil
Lemon oil has traditionally been used to reduce excess oil and treat pustules on the skin. This has seen the oil become a favorite DIY treatment for oily and acne prone skin. Lemon essential oil also has astringent properties which makes its effective in increasing skin firmness.
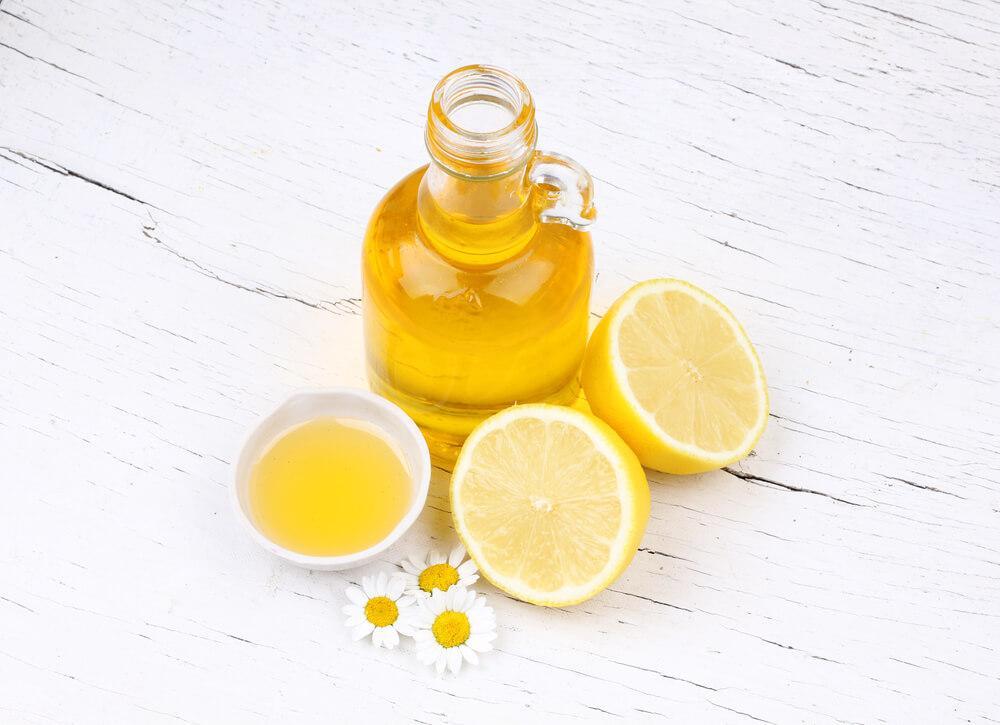
Studies have shown that essential oil from citrus plants is effective against many skin conditions including acne, wrinkles and hyperpigmentation. It’s also a natural topical treatment against calluses and warts. Apart from treating blemishes, lemon oil is a good insect repellent hence a walk through the park won’t leave you with insect bites.
8. Grapeseed Oil
The oil has great anti aging properties and will do for all skin types. It contains linoleic acid which is essential for strong cell membranes and a healthy skin. If you suffer from a constantly clogging skin, then you will find this oil very beneficial. It’s rich in antioxidants which help in unclogging pores and preventing oxidative action of free radicals.
A study established that grapeseed oil “synergistically interacted with vitamin E, recycling the inactivated form of the vitamin into the active form and thus acting as a virtual vitamin E extender”. The conclusion made was that the oil helps to increase the efficiency of vitamins E and C, thus improving skin health.
9. Jasmine Oil
Jasmine is best known as an aphrodisiac and a perfume owing to its alluring scent. The essential oil from the plant is however also a great skin care remedy. It’s effective in preventing and treating skin infections like rashes and acne breakouts. This is attributed to the oil’s strong antiseptic properties.
The oil also helps in combating inflammations and general skin care. Different studies have also found the oil to be effective in a wide range of dermatological uses including treatment of dry and aged complexions, revitalization, preventing excess oil build up and psoriasis (patches of abnormal skin)
10. Vanilla Oil
Just like jasmine, vanilla oil finds itself in essential oils blends de to its alluring scent and anti aging properties. It helps in reducing stress-induced acne outbreaks by calming you. This stems from its antidepressant and sedative properties. The oil also has an antioxidant property which helps in neutralizing free radicals and reducing the skin’s wear and tear.
Apart from keeping your skin free from environmental stressors, vanilla oil is rich in various vitamins which are essential for skin health. Such include vitamin B complex made up of thiamin, pantothenic acid, riboflavin and vitamin B6.
Others essential oils include: Clary sage, Lemongrass, Peppermint, Spearmint, Cypress, Pine, Basil, Ginger, Geranium, Mandarin, Ylang Ylang, Neroli, Melissa, Patchouli, Petitgrain, Juniper, Laurel, Mandarin, Patchouli, Helichrysum, Geranium, Sandalwood, Valerian, Black Pepper, Clove,Cinnamon, Nutmeg, Angelica Root, Balsam, Myrrh, Patchouli, Spruce, Neroli.
Step 2. Choose Your Scent
Different essential oils come with various categories of scents. When blended, the scents may change. The process calls for trying out several until you settle on the one that you prefer. Here are the various scents.
- Citrusy: Tangerine, Citronella, Petitgrain, Grapefruit, Lemon, Orange, Lemongrass, Lime, Melissa, Neroli
- Minty: Peppermint, Spearmint, Catnip
- Floral: Ylang ylang, Neroli, Lavender, Jasmine, and Rose
- Spicy: Cinnamon,Pepper , Ginger, Clove, Nutmeg
- Woodsy: Pine, Cedar, Cypress, Myrrh, Juniper, Frankincense, Fir
- Earthy: Oakmoss, Vetiver, Patchouli
Step 3. Choose the Note
These are determined by how fast the oil fades after being exposed to oxygen.
1) Top notes are the lightest and thinnest in consistency. They are the smell fast and lose the fragrance as first. Examples include eucalyptus, lavender, peppermint, citronella, lime and grapefruit.
2) Middle notes are somewhere in the middle. They help to bind the top and base notes. Examples are clary sage, cinnamon, tea tree, rosemary, rosewood, camomile and jasmine.
3) Base Notes are deep, heavy and earthy in scent. They help in maintaining the aroma. Examples are sandalwood, ginger, myrrh and cedarwood
NOTE: Regardless of the categories based on scent, properties and note value, how you mix your essential oils should entirely depend on the results you are trying to achieve.
Step 4. Blend Your Essential Oils
There is no defined formula for essential oil blends. However, there are a few tried and tested ones. Here are our two best examples:
Method 1
- Put your carrier oil of choice into a 15ml amber glass bottle, almost to the top
- Choose 2-5 essential oils depending on the properties you are looking for
- You will need about 8 drops in total to have a dilution rate of 2.5%-3%
- Mix the essential oils on their own first. Start with a drop of each and smell it.
- Keep adding a drop at a time until you have added all the 8 drops
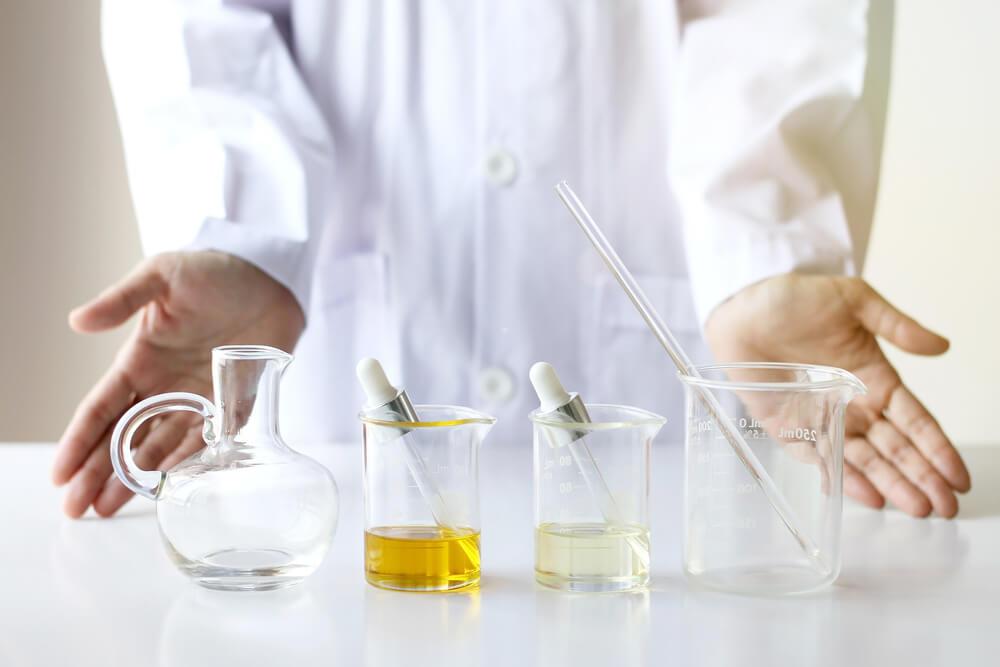
Method 2
This is commonly known as 30-50-20
It dictates that 30%, 50%, and 20% comprises of top, middle and base note essential oil respectively.
Pro Tip: Always mix the essential oils before diluting with carrier oil.
Step 5. Choose your Carrier Oil and Mix
When used for skin care skin care, essential oils should always be used with carrier oils. Carrier oil serves as a ‘vehicle’ and a dilution agent for the essential oil. That said, carrier oils are also beneficial in their own right and including them in your blend helps you to enjoy the effects of both the specific carrier oil and the essential oils. Here are common carrier oils;
Sweet Almond Oil: It’s easily absorbed deep into the skin and comes with the benefits of vitamin E- effective in repairing damaged skin.
Jojoba Oil: Great for all skin types since it’s similar to sebum and collagen. Compared to other carrier oils it also has the advantage the longest shelf life (almost indefinite).
Apricot Kernel Oil: It’s less greasy and lightweight with a sweet smell. It’s also rich in oleic, linoleic acid, vitamin A and Vitamin C. These are compounds recommended for dry, sensitive, aged and inflamed skin.
Fractionated Coconut Oil: This is refined coconut oil which is clear and slightly oily. It’s a natural moisturizer, softener and contains vitamin E.
Olive Oil: The oil is heavy and greasy and should be used sparingly with other carrier oils. It however comes packed with minerals, vitamins and proteins which are beneficial to your skin.
Avocado Oil: Go for the refined version which is pale yellow in color. The oil is thick and heavy but it’s not overly greasy. It soothes the skin and is easily absorbed by the skin. It also has vitamins and fatty acids.
Castor Oil: It’s a natural moisturizer and easily penetrates deep into the skin. Castor oil blends well with Jojoba Oil for a great anti inflammatory effect.
Pro tip: Carry out a patch test (explained below) before settling on the specific carrier oil.
Step 6: Test Your Essential Oil Blend
This involves doing a patch test. Apply a small amount of the blend on a small area of your skin and let it sit for 24 hour to check for any undesirable reactions such as redness, itchiness, and burning sensation. If there is no reaction, let it sit for a few days and assess if the smell is desirable. Your blend should now be ready for use as it is or or together with other products.
Essential oils are one of the best gifts that Mother Nature has to offer. Apart from being highly effective in their numerous benefits to your overall health, they are generally safe to use on your skin. You can tap into their various benefits by combining several oils of your preferred scents, medicinal, and note values. With one or two blends, beautiful and flawless skin will just be an application away.


Leave A Comment